 To download EC2 Tools you can use this page from the Amazon Developer tools page, that links to the zip file in S3.
The Tools use Java, so you will need Java, at least v. 1.6 and can be uncompressed to any directory.
The tools use AWS_ACCESS_KEY and AWS_SECRET_KEY environment variables to know your credentials, and so passing the requests to Amazon API with them.
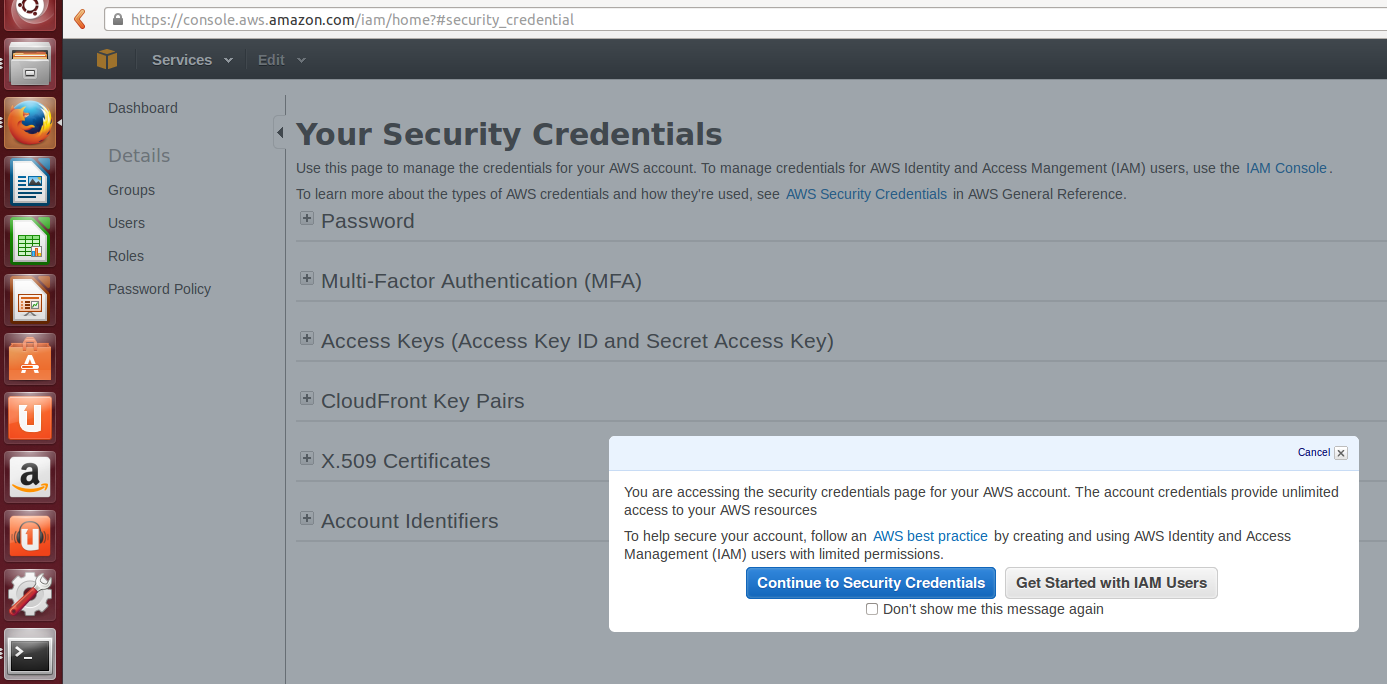
Amazon AWS_ACCESS_KEY can be seen on your AWS account.
Edit your ~/.bashrc to add the exports:
export AWS_ACCESS_KEY=your-aws-access-key-id
export AWS_SECRET_KEY=your-aws-secret-key
Run:
source ~/.bashrc
Please note Tools commands support pass of authentication on execution time with the params:
    -O, --aws-access-key KEY
    -W, --aws-secret-key KEY
Export the EC2_HOME variable, you can also add to ~/.bashrc:
export EC2_HOME=/home/cmips/ec2-tools
And you add also and export also to the PATH
export PATH=$PATH:$EC2_HOME/binExport the JAVA_HOME dir:
export JAVA_HOME=/usrThat means that you java binary is in /usr/bin
Test the Tools with: ec2-describe-regions
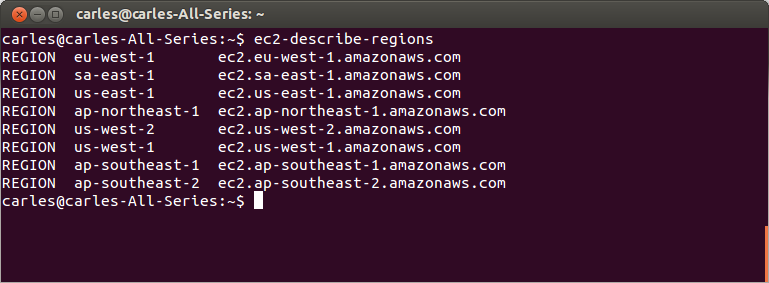
Then use the parameter –url or -U to specifify the url of the region you want to query.
You can also set the parameter EC2_URL environment variable if you prefer.
Eg:
--url https://ec2.us-east-1.amazonaws.com
Alternatively you can use the parameter –region
Eg:
--region us-east-1
–region overrides the value of –url
Other util parameters are:
–auth-dry-run or -D
To test instead of performing the action.
–verbose or -v
So let’s test the whole thing:
ec2-create-keypair --region us-east-1 cmips-test-key
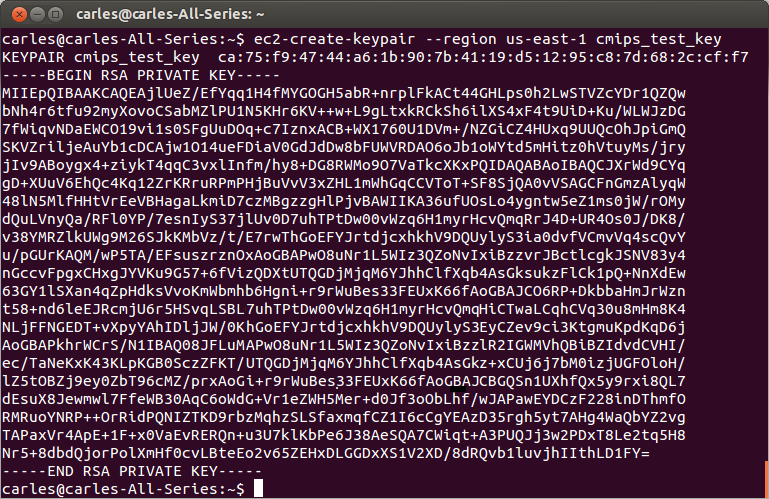
The first text starting with ca:75:f9… is called the fingerprint and is a checksum of the KEY.
From this PRIVATE KEY (or .pem file) you can generate your public key:
ssh-keygen -y
You can list all your instances with:
ec2-describe-instances
Or the images available to you with:
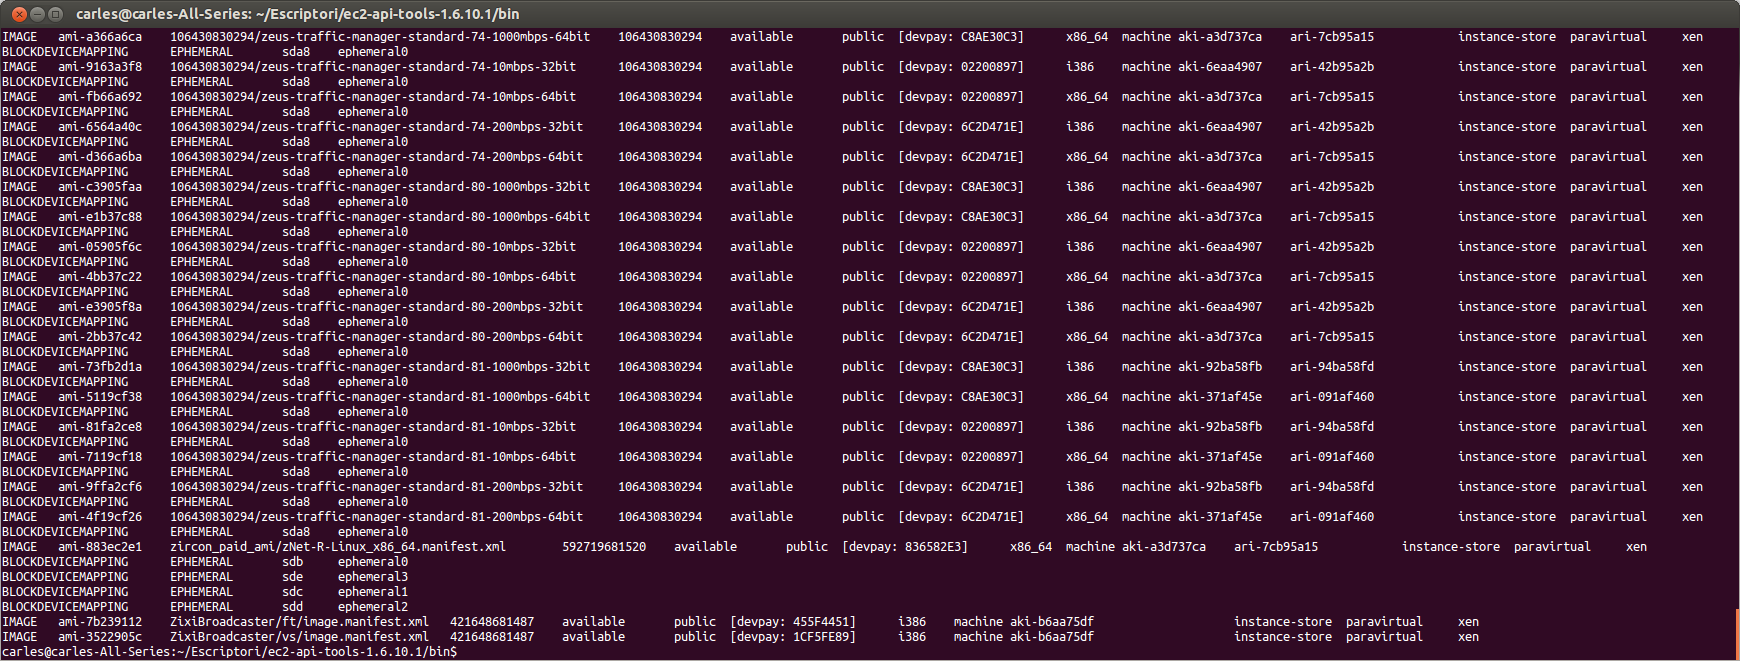
ec2-describe-images
The images available to you can be public, your own images (private) or images that other AWS account has granted to be launched from yours (explicit).
You can describe AMIs, AKIs, and ARIs (Amazon Ramdisk Images).
You can request all the images available to you (it will take several seconds as there are thousands):
ec2-describe-images --all
Or your own images:
ec2-descibre-images --owner self
For owner you can specify any of these values:
amazon | aws-marketplace | self | AWS account ID | all
The second column is the AMI ID, that is unique for every zone.
Link to the Amazon’s documentation for ec2-describe-images.
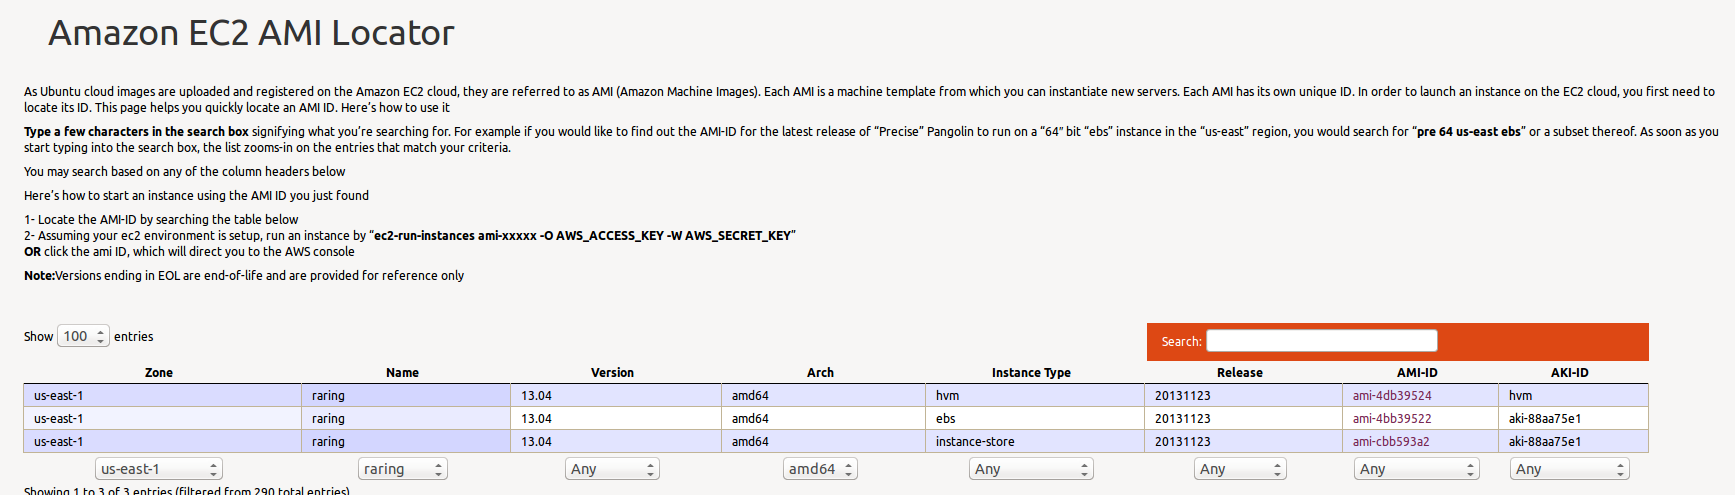
You can also the list of official AMIs for Ubuntu here:
http://cloud-images.ubuntu.com/locator/ec2/
You can launch one or more instances (create new) with:
ec2run
Passing the AMI ID of the AMI, so the base image for the virtual disk, to launch.
For example:
ec2-run-instances ami-4bb39522 -O AWS_ACCESS_KEY -W AWS_SECRET_KEY
You can also import instances and create your own images:
ec2-import-instance
ec2-upload-disk-image
For example:
ec2-import-instance ./LinuxSvr13-10-disk1.vmdk –f VMDK -t hi1.4xlarge -a x86_64 -b myawsbucket -o AKIAIOSFODNN7SAMPLE -w wJalrXUtnFEMI/K7MDENG/bPxRfiCYEXAMPLEKEY
Requesting volume size: 25 GB
Disk image format: Stream-optimized VMDK
Converted volume size: 26843545600 bytes (25.00 GiB)
Requested EBS volume size: 26843545600 bytes (25.00 GiB)
TaskType        IMPORTINSTANCE  TaskId  import-i-fhbx6hua       ExpirationTime  2011-09-09T15:03:38+00:00       Status  active  StatusMessage   Pending InstanceID      i-6ced060c
DISKIMAGE       DiskImageFormat VMDK    DiskImageSize   5070303744      VolumeSize      25      AvailabilityZone        us-east-1c      ApproximateBytesConverted       0       Status  active StatusMessage    Pending
Creating new manifest at testImport/9cba4345-b73e-4469-8106-2756a9f5a077/Linux_2008_Server_13_10_EE_64.vmdkmanifest.xml
Uploading the manifest file
Uploading 5070303744 bytes across 484 parts
0% |--------------------------------------------------| 100%
   |==================================================|
Done
Here you can find complete documentation on how to export instances/disks from Citrix, Microsoft Hyper-V and VMware.
Why is it important to know the APIs from the Cloud providers?.
In order to be able to automate tasks and to measure the time taken by the actions to be performed.
Most Cloud providers have their own APIs, while the smaller ones don’t.
 Apache Libcloud provides an unified API for many providers, even for some of the providers that don’t offer direct API.
You can see the complete list of providers, and supported functionalities in:
http://libcloud.apache.org/supported_providers.html